How to Realistically Extend the Life of Your Chromebooks
If you’ve seen your next device quote, you probably already know: costs are going up. This has left many schools looking ahead and asking the same question: how can we make the devices we already have last longer?
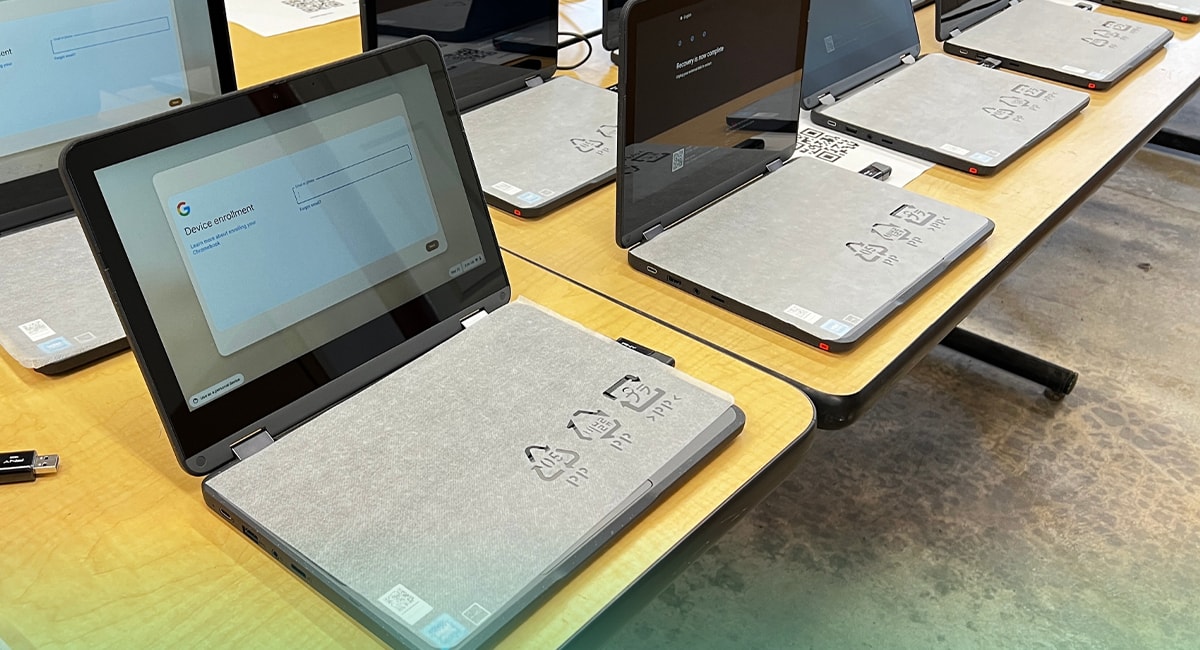
Starting last year, new Chromebooks became eligible for up to 10 years of automatic software updates. On paper, it’s a huge win. But anyone who’s worked in a 1:1 program knows that just because the software may be built to last a decade, but the actual device definitely isn’t.
So is it even possible to extend the life of your Chromebooks? While nothing is guaranteed in a school environment, the answer is yes…with the right strategy.
1. Set Students Up for Success:
Even with the most durable hardware, student use is the biggest variable. Small shifts in how devices are handled and how students are held accountable dramatically reduce damage and increase lifespan.
Start with a clear use policy. If you don’t already have a Chromebook policy in place, now’s the time. Outline how devices should be carried, stored, and charged. Define student responsibilities and consequences for damage. Pair this with regular reminders, especially after breaks, and you’ll likely see fewer “it was already like that” tickets.
Here are some great examples we found that you can reference:
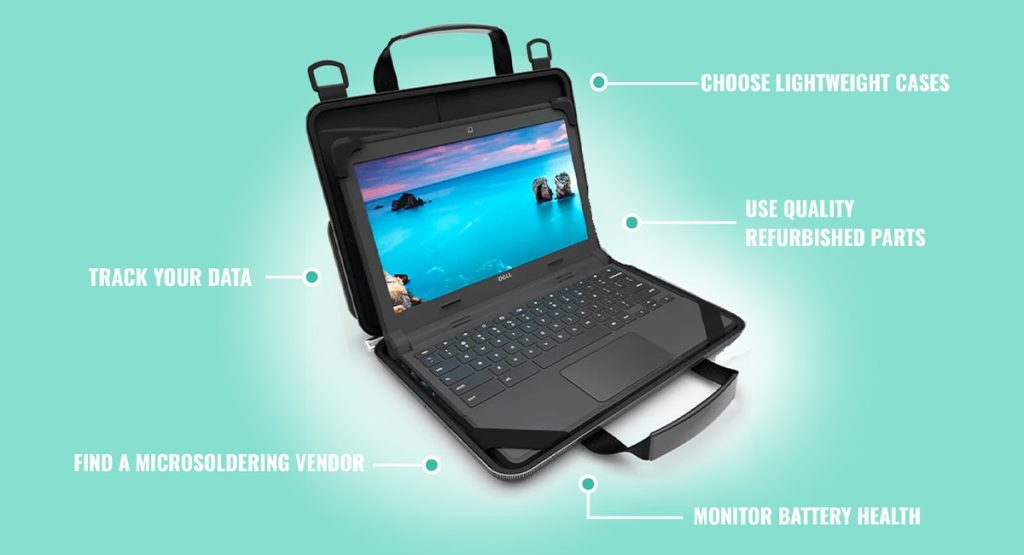
Choose the right case. We’ve seen mixed data on whether cases actually reduce internal damage, but they almost always help prevent cosmetic wear, broken corners, and vandalism. When planning on purchasing new cases, look for lightweight options, from brands like UZBL. These cases don’t apply as much pressure near the hinge like some bulkier options that we’ve seen cause a spike of damages in districts before.
Be cautious with summer take-home. We usually recommend against it since schools that allow summer take-home often see a spike in repairs when the new year begins. If your district does need to send devices home, make sure students have clear care instructions and charging reminders. Simple habits like avoiding overcharging or not letting the battery sit completely dead for weeks can help prevent serious damage.
2. Know Your Numbers
If you want to extend your refresh cycle, the most important place to start is knowing your numbers. How many devices are being repaired? How often? What’s the most common failure? Which models are costing you the most? That’s why it’s so important to utilize a device management system. Whether you’re using a paid solution or something like Rocket (our no-cost platform built for schools), the important thing is having access to your data in one place.
“Rocket improves our tech department’s ability to track, manage, and maintain IT assets. This has led to better asset utilization, reduced downtime, and improved resource allocation for our district-managed devices.” – Amanda Ball CIO/DTC, Network Administrator, East Bernstadt Independent School
Once you know your numbers, you can start mapping out your costs and identifying where extending device life cycle might save you money.
Here’s a quick breakdown of what you’re likely spending now:
- A new Chromebook with a license and case: ~$325
- On a 4-year cycle, that’s $81.25 per year, per student
- Stretching that same device to 6 years drops the cost to about $54 per year—even if you spend an extra $60–$70 on repairs in years five and six
That’s over $27 per device per year in savings. Multiply that by 1,000 devices and you’re looking at $27,000 in annual savings just by extending your cycle from four years to six. Even extending by just one extra year can cut per-device costs by 20–25%.
The more you know, the more you can save. Having visibility into your repair volume, damage trends, and end-of-life timelines helps you decide when to repair, when to retire, and when to reinvest. And it gives you the data to back up those decisions when budget season rolls around.
3. Plan on Doing More Repairs
If you’re serious about extending your devices beyond four years, you’ll need to plan for more repairs. But let’s be honest—repairs can get expensive (we know). So how do you make the most of your repair budget?
If you’re outsourcing repairs:
One of the best ways to save is by protecting your devices with a reliable ADP plan. These plans not only protect you from surprise damage, but they can also reduce your long-term costs significantly.
Most districts spend between $75–$85 per device per year when managing repairs out of pocket. Our ADP plans, by comparison, start at just $14 per year. That’s a huge difference when you’re managing hundreds or thousands of devices.
Just be aware when looking for vendors that It’s tempting to shop based on the lowest price but not all plans offer the same coverage. When vetting a company, make sure to ask:
- Do they offer microsoldering? Fixing a motherboard issue at the component level can be way cheaper than replacing the whole board.
- Are used or ODM parts an option to lower costs without compromising quality?
- Do they offer a buyback that can be used towards the cost of repairs?
- Do they offer unlimited repairs? Is there a catch or hidden fees?
- Do they cover devices that are accidentally broken…with let’s say…a pencil?
- Do they offer parental coverage? Some vendors let families opt into the same level of protection at no cost to the school—keeping the device covered without straining your budget.
A good ADP plan should simplify your life, not create more work. Look for a partner that understands education, is responsive to your team, and builds in flexibility for schools of all sizes.
If you’re doing repairs in-house:
We know a lot of schools handle their repairs in-house. Here’s some ways to save if that applies to you:
- Maintain a Well-Stocked Inventory: Having parts on hand means faster turnaround and fewer out-of-service devices. Start by stocking screens, keyboards, and ports for your most common models.
- Monitor Battery Health: Battery failure is one of the top reasons districts retire otherwise functional devices. Swapping out an aging battery is a fast, low-cost way to get another year or two of use. Regularly check battery health on devices approaching year 3 or 4, and consider replacing them before summer break.
- Use What you Have: Old, unrepairable Chromebooks are great sources of spare parts. Create a teardown workflow where you salvage working components like LCDs, trackpads, or even screws. Label and organize your parts so they’re easy to grab during repairs.
- Consider Surplus and Open-Box Parts: OEM parts are ideal but not always necessary. Many vendors offer high-quality used parts that cost less and work just as well—especially for cosmetic fixes or out-of-warranty devices.
- Engage in Buyback Programs: If a device truly isn’t worth fixing, use a buyback program to recoup some value. Many vendors offer credit for bulk trade-ins or will handle recycling responsibly at no cost.
Extending the life of your Chromebooks doesn’t have to mean overworking your team or compromising on reliability. With clear student expectations, better data visibility, strategic budgeting, and a solid repair plan, you can reduce waste, delay replacements, and build a more sustainable tech strategy.
Whether you’re aiming to stretch your refresh cycle from four years to six, or just make smarter decisions about repair costs in the meantime, it all starts with knowing your numbers and planning ahead.